
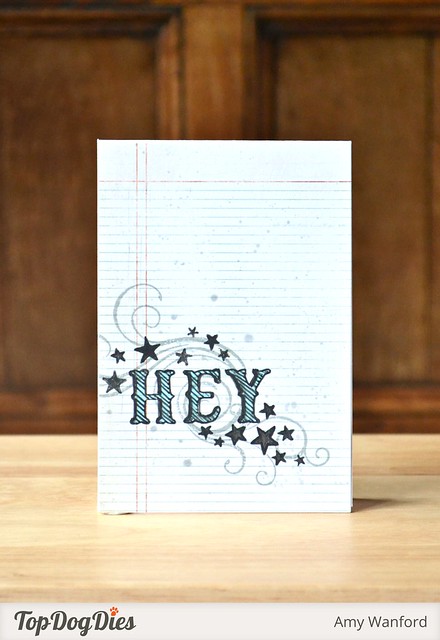
I'm over on the Top Dog Dies blog today with this card. It features a mish-mash of products and techniques. It's kinda similar to yesterday's card but I like to think that this one is a little more grungy. :)
I've been playing with stencils on this card (as well as stamping of course!) I used a swoon-worthy Memory Box stencil to select random stars to draw around my sentiment and I created a stencil of my own using a Top Dog Dies die.
I used the Top Dog Dies Vintage Alphabet Die to create my lettering by simple creating a stencil from it. I did the same for yesterday's card too. I've braved the camera and created a little mini-video-tutorial to show you exactly how I do this. I do babble a lot but I hope it gives you a better idea of how easy this is to do:
If you can't view the video for any reason, check it out here. :)
Easy, right?! To grunge up my card a little more I added some stamped flourishes and ink splatters - it makes such a difference to the design which looked a little bare before. However, I then realised the flourishes stamped over my lettering so I shaded the lettering using a pale blue marker.
Well that's all from me today! As always, thank you so much for stopping by today!
Products Used


Love your video, love your accent and love your creativity!! I love how you made the lettering so unique!
ReplyDeleteAwesome.card Aimes! Love the touch of grunge and your video is very cool too! :-)
ReplyDeletevery cool! loved the vid:)
ReplyDeleteLove your creativity, the video and your awesome accent! Thank you for sharing.
ReplyDeleteThanks so much for this tutorial video - it is so helpful! Love your card, too! Ann
ReplyDeleteThanks for the tip! Love your accent! #languagegeek
ReplyDeleteLove your card, and great tutorial, thanks!
ReplyDelete