Tuesday 19 March 2013

Old supplies, new love...

Happy Happy Happy Birthday
Hey!

Happy Tuesday! We're nearly halfway through the week already and I'm officially on countdown for the Easter holidays approaching!

But I'll take a break from counting down (6 working days to go in case you're wondering *wink*), to share a card with you today for our new challenge on A Passion for Papertrey. 

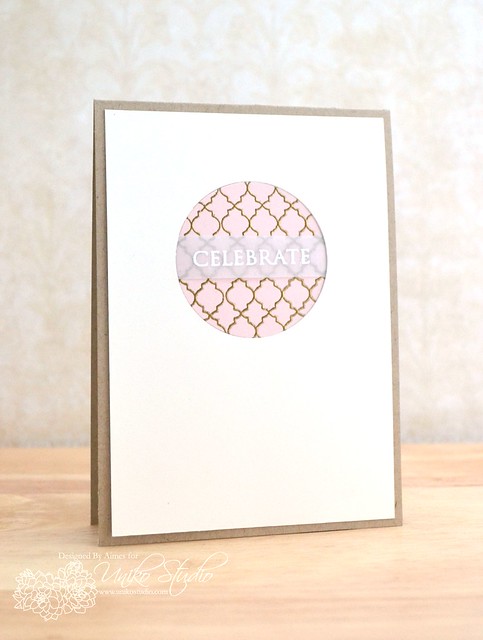
And why not enter any entries to the Moxie Fab World: Emphasize the Negative Challenge? That's exactly what I'm doing with today's card. :)

For our new challenge, we're finding the positives in the the negatives and getting busy with negative space. We'd love to see you do the same too - remember that our challenges are open to peeps across the globe for the chance to win a $5 Papertrey Ink gift certificate.

For my negative space, I created a frame by using two separate dies. First, I cut the largest shape from aqua card stock and then placed the smaller, second die on the first die cut shape to create the frame. 
tips and tricks
  • Look through your old supplies and challenge yourself to use it! I used a sheet of foil transfer and a flower embellishment that I purchased years ago!
  • Lightly draw lines across the frame and apply strips of tape over them to ensure the strips of tape are straight and alined.
  • I used the rule of three in this design with the three pops of pink. The gems are also providing visual balance with the flower in the lower right corner. 
Ahh there's something so satisfying in finding a new use for old supplies. I have a million more of these flowers in my craft room and I'm sure it'll be a while until I use one of them again, but as for the foil sheets...

Happy Happy Birthday Close
...I have a feeling that they may be utilised sooner rather than later *wink*!

Thank you so much for visiting today!

Signature2


Products Used


Saturday 16 March 2013

Getting busy with the washi...

Get Well Soon
Hey!

Hooray for the weekend! I have lots of 'me' timed planned as my fiancé (I still can't get used to saying/typing that!) is away this weekend. So the chores are done and now all that's left to do is get creative :)

Today's card is the result of playing around with washi tape. I love washi tape. I feel the need to own every. single. design. Do I use it much? Hardly! So cue a mission to get busy with the washi courtesy of the Moxie Fab World: Washi Tape Challenge.

I used my washi tape to create a plaster (band aid) and coordinated it with a 'get well soon' sentiment. The band aid was easy peasy to create and required a strip of card, washi tape and Chompy (my corner rounder)  :)
tips and tricks
  • The plaster was created by adhering a strip of washi tape to a strip of cardstock; Then rounding the corners and to finish, sticking a vertical strip of the tape across the centre.
  • Play with various washi tape patterns and die cuts to create custom embellishments!
  • When cutting washi tape, I swear by my oh-so-faithful non-stick, honey bee scissors. Perfect for cutting anything sticky (I'm not paid to say that - I'm just a very happy customer!)
That's all from me today - keeping it short and sweet to maximse inky freedom time!

I hope you're having a great weekend and I'll be back soon. Thanks so much for stopping by today!

Signature2 


Products Used


Monday 11 March 2013

Joining the gold rush...

CELEBRATE
Hey!

Happy Monday! It's certainly a happy one here on the blogeroo today as it's time for a blog hop Uniko Studio style! C'mon and hop along with us; it all kicks off on the Uniko Studio blog so be sure to stop there first!

This hop highlights an older and much loved set, Background Builders: Lattice. This set is soooooo versatile and I find myself reaching for it no matter what the occasion I'm stamping for. I previously used it for a glitzy thank you card, however today I've used it for a pretty card to celebrate well, anything! Ha!
 tips and tricks
  • When incorporating vellum into a design, think about how you're going to attach it: vellum can show the adhesives you use. I opted to tuck my vellum ends behind the circular aperture created in the cream cardstock. 
  • Use the same die used to create the focal point to have an aperture that your focal point will fit perfectly into. This not only gives a flush look, but also makes the card super flat for postage too! :)
Gold. It's everywhere at the moment. It's a trend I'm seeing not only on the cardmaking scene, but on the high street too. The gold on my card is embossed and shines so much more IRL - I hope this close up gives you some idea:

CELEBRATE Close 
Now if you join in the blog hop today, you'll be able to check out just how versatile Background Builders: Lattice is. Hop on along to my Uniko Studio DT buddy, Amber - you won't be disappointed! :)

Thanks so much for hopping on by here today and I hope you have a great week! 

Signature2


Products Used


Sunday 3 March 2013

Click, Cut, Create

Happy Birthday
Hey!

Happy Sunday! I'm popping in today to share a card with you that is the result of why I've been a little MIA recently. You see, I have a new toy. Not just any toy. A toy that has added a new, fun element to my paper crafting.

The kind folks at Provo Craft sent me a new toy to play with: the Cricut Mini. Now I'd like to point out that the world of electronic cutters is all new to me and to be honest, the idea of electronic cutting scared this stamp & ink lovin' gal!  Still, I promised myself that I would play with it and see what I could rustle up. I shocked myself at how easy and fun it was! In fact, I'm addicted. :)

Today's card is a simple example of click, cut and create. The template was already on the software ready to play with - easy peasy! However, the range of other freebie shapes (including fonts!) means that my only limit to what I can create is my imagination. I've already whipped up a few more cards I've designed from welding shapes together - I'll share them later.

Speaking of later, I can also design my projects and save them for a later cutting session. Great for when I haven't got time to have a full crafting session, but have time to execute an idea I have.

tips and tricks
  • The card provided is much lighter than what I use for my card-bases. I would not use my heavy PTI cardstock in this machine!
  • I've used the Mini not just for my crafting, but for my job too: I've been able to cut out letters for our school displays in a matter of minutes! Gives me more time for crafting *wink*
  • You can buy individual digital cuts from the store for a bargain. Please be warned though, that if you're not a USA or Canadian peep, you can't buy from the US store and the choice is much more restricted for us UK peeps...I'm really hoping that changes in the future. It's my one and only negative point of the product. I might have to see if any USA/Canadian Peeps can help me out - I'm loving some of the images I can't buy directly!
The Cricut Mini has gently introduced this newbie to a wonderful world of electronic cutting and although I'll always love my stamps and ink, I'll definitely be creating with the help of technology in the future!

Before I dash I'd like to thank you for popping by today, and Provo Craft for providing me with a new tool to add to my crafting arsenal - thank you!

Signature2


Products Used


Copyright/Disclosure

I am on various design teams and receive free product to use and promote. I geniunely love the products of the companies and all opinons are honest and my own.

I'm flattered if I've inspired you and you want to CASE anything of mine, but please don't enter it for commercial publications or competitions.
Thank You!
All designs, text, and photographs on Crafting Confessions are ©2009-2016 to Amy Gray unless stated otherwise.