Wow. How fast a week can fly by when you've got the week off work and you need to squeeze in days of dental work...ugh. This week has been full of driving for appointments, needles, moulds, numb mouths and lots of dribbling (due to the numb mouth of course, I don't usually pour drinks down myself!).
But the dental work is done (for now) and so is Halloween for another year. I was planning on sharing my Halloween creations earlier on in the week, but it's been a blog-free and creating-free week until today. Plus, I'd like to secretly hope that at least one of my nieces or nephews checks out the blog from time to time and I wouldn't want to have spoilt the surprise of giving them them these treats yesterday. *wink*
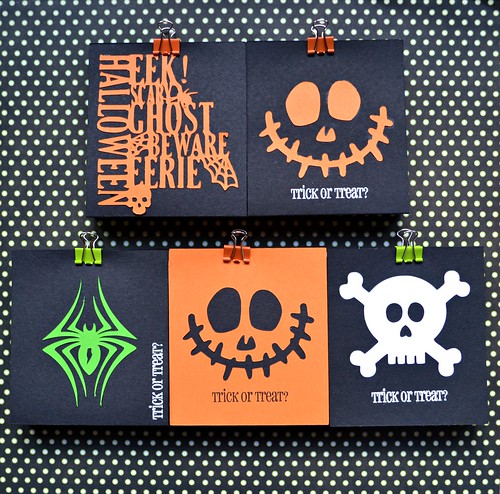
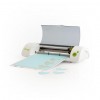
I have seven nieces and nephews altogether so when it comes to Halloween I like to be able to whip up something quick that can be reproduced easily. Cue the aid of the Cricut Mini! I simply designed different fronts for the treats and adhered them to a strip of cardstock that wrapped around my treat and secured it with a cute mini clip. The pumpkin and spider front are from the Monster Bash cartridge, the skull is from the Life is a Beach cartridge, and the cool subway-style words come from the Teresa Collins Chic and Scary cartridge.
Here's a close up of each design (some designs replicated if you were thinking I couldn't do my maths: 5 designs treating 7 nieces and nephews :D)


- I used the negative and the positive cuts of the pumpkin to design two different covers. This saves on cardstock and cutting.
- When playing with my Cricut Mini, I like to use thinner cardstock than my regular heavy cardstock. I used the card available at Paperchase - it's good value for money, it still pretty thick and cuts well with my Cricut.
- Glossy Accents is a great glue to use with extra fiddly, delicate cuts that you want to stick down.
For the girls:

For the guys:

The hardest part of this project was resisting the temptation to 'sample' the treats for myself! Ha!
For those of you who celebrated it, I hope you had a spooktacular (and safe!) Halloween!
I'll be back soon with my CASE Study card (don't worry, I haven't forgotten about it - it's just going to be late!) and hope to get reacquainted with some crafting before work again on Monday! :)
Thank you so much for stopping by here today!


2 comments:
These are awesome...oooo and so sorry about the dental work. Hopefully the weekend is more pleasant.
Fun makes - I'm sure your nieces and nephews loved these one-of-a-kind treats ;)
Hope you are feeling fully recovered soon after all the teeth troubles! Rx
Post a Comment