Showing posts with label Papertrey Ink. Show all posts

Tuesday, 10 June 2014

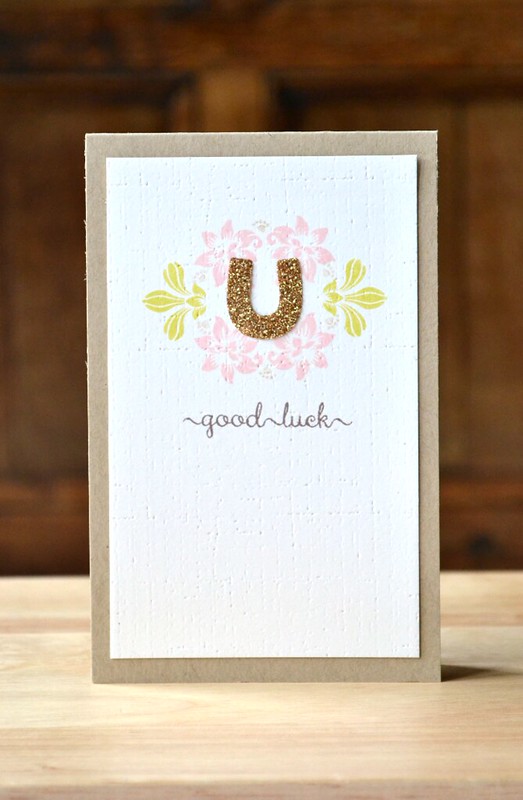
A magnet posing as a horseshoe...

good luck
Hey!

It's the 10th of the month and we know what that means, right? Yup, eleven days until my birthday time for a new Clearly Besotted Stamps challenge!


The theme this month is 'Anything Goes' so this makes is easy-peasy-lemon-squeezy to play along with us. No excuses. Get those Clearly Besotted Stamps goodies at the ready and get busy! :D

For my card, I got acquainted with some new CBS goodies that I hadn't had time to play with yet. I bet you didn't notice that horseshoe die in the new release, did you? Well that's because it's the magnet die from the Scientifically Speaking Die Collection turned upside down. ;)

good luck close up

The magnet/horseshoe was die cut from some Cricut gold glitter iron-on material. A few subtle flowers stamped from Nouveau Flowers and a sentiment in an adorable font from Sweet Little Sentiments completes the card.

tips and tricks
  • This design features a whole lot of symmetry which keeps everything balanced. Everything (apart from the sentiment of course) is symmetrical.
  • I found it super easy to ink up various parts of the floral design in different colours by using tiny teardrop-shaped ink pads. This has the added bonus of being able to ink up one stamp with various colours and stamp it once rather than have to repeat (and line up!) the process. 
  • The floral stamp coordinates with some beautiful stems, but don't be afraid to use it alone as a pattern building stamp. 
I hope you can find time to play along with us! For full deets of the challenge, and to check out the rest of the CBS design team's creations, please pop along to Stephanie's. :)

That's enough from me today. I still have a heck of a lot to do before I finish work on Friday!

As always, thank you so much for stopping by here today!

Signature2


Products Used


Monday, 9 June 2014

A Kylie & Jason Card...

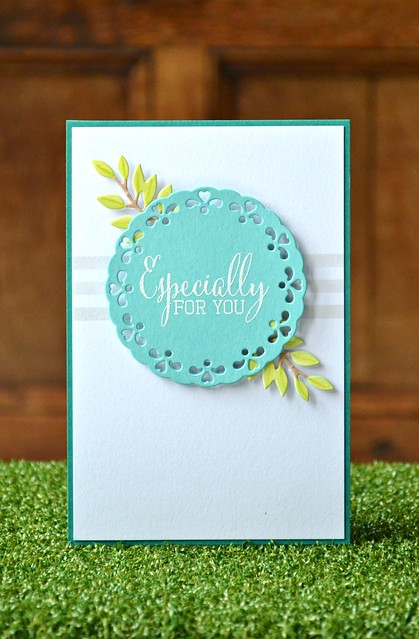
Especially for you
Hey!

Happy Monday! I'm not sure how I'm feeling about this Monday...it's my final week in my current employment and as much as I'm looking forward to a new adventure, a part of me is going to miss this experience. A lot. This is partly the reason for being so extremely busy lately and I can reveal all about my future career next week (I'm so excited!) Apologies, I digress - you came here to see a card, right? Well as you can see, I have one of those too. :)

I'd like to call today's card a, 'Kylie & Jason' card. I cannot get that 80s classic, 'Especially for You' out of my head as I type about it - ha! But cheesy pop classics aside, today's card features some Top Dog Dies goodness in the form of a doily from the Top Dog Dies Cherish Doilies & Tags Die Set and some leafy accents thanks to the Top Dog Dies Berry Branch Die.

tips and tricks
  • Although the berry branch die has berries on it, I simply used the top end which contains no berries.
  • I die cut the branch from white cardstock and coloured it with my Promarkers. This was much quicker than die cutting the branch twice from green and brown cardstock and placing them together. 
It feels like summer is finally starting to arrive here and I think that's what influenced this fresh, summer combo of colours. Man, I'm going to miss those summer holidays!

Well my final week at school is a super busy one - I'd best get back to the books. Marking is certainly one thing that I will not miss about my job. *wink*

Thanks for stopping by today!

Signature2


Products Used

Saturday, 10 May 2014

Happiness

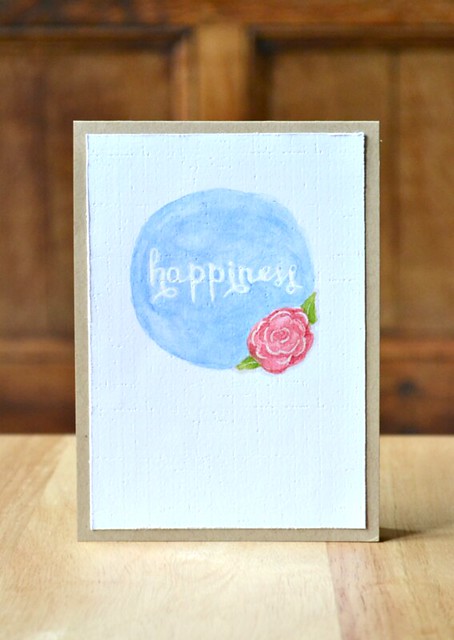
Happiness
Hey!

Happy weekend! It's a super happy weekend as today marks the release of the new Clearly Besotted Stamps release. All new products are available for purchase from 10pm tonight BST (UK time) and you can take a peek/make your shopping list as Stephanie reveals all the new products now. :)

I'm sharing my happiness with this card today. Have you signed up for the Online Card Classes: Watercolor for Card Makers class? I'm loving it and squeezing in any spare creative time I have to join in. This card features a pretty bloom from the new Clearly Besotted Stamp set, Love Blossoms, along with a masked sentiment from the set along with a lot of watercolouring of course. ;)

Happiness Close Up

I added some sparkles to my flower after the paint had dried using my trusty clear Wink of Stella pen. I couldn't resist. Although it was tough to refrain from adding more to this card, I resisted the temptation in order to let the simplicity of the free, watercolouring style take the stage.

Be sure to head over to Stephanie's to check out the full reveal of this month's release and get your fingers at the ready to click and purchase at 10pm BST tonight. I have a feeling that this beautiful set is going to sell out...

Right. We have guests coming around tonight and as much as I'd love to sit, create and play with my watercolours some more, I think we need to get the place in order. Cue Operation Chores in 3, 2, 1...!

Hope you have a wonderful weekend! As always, thank you so very, very much for stopping by today! :)

Signature2


Monday, 5 May 2014

Border Die = Lace Strip

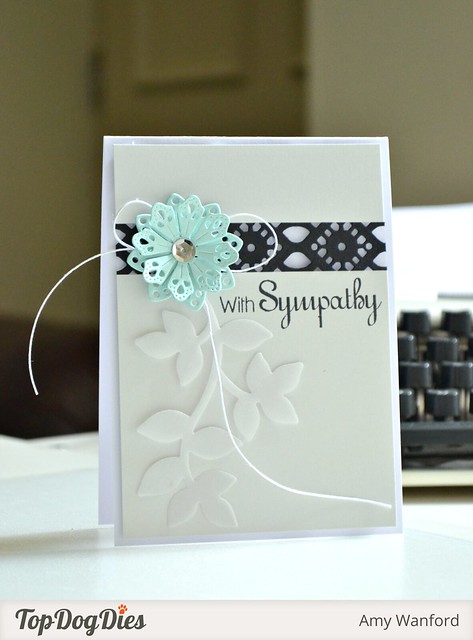
With Sympathy
Hey!

Happy Monday and happy Bank Holiday Monday to my fellow peeps who have it. I know I'm extremely thankful for the extra day's holiday *wink*!

So on this extra day of freedom, I've been a busy, crafting bee today getting busy with the new release from Top Dog Dies. :)


I used the new Top Dog Dies Alaina Lace Border Die border die in a slightly different way to create this kinda lace strip. So easy. When I paired the lace strip with a couple of new flowers from the Top Dog Dies Pretty Petals Die Set and added some vellum leaves (a die cut that was in my scrap pile from a previous project), the card seemed to evolve into a sympathy one.

WithSympathy
Is it just me, or does that border/lace strip design remind you of those friendship bracelets that were all the rage in the '90s? Probably just me, ha!

tips and tricks
  • In order to achieve the lace effect, I simply cut a horizontal section out of my die cut border and layered it on to a piece of acetate. The acetate is cut to the size of the front panel on the card and I secured the grey sections of card-stock to it as well before mounting on my card-base with foam pads.
  • Glossy Accents was my friend in getting that die-cut, delicate strip to stick to the acetate. Lots of tiny dots does the trick. Just be aware that it spreads as you secure it so a little goes a long way!  
  • For even more dimension, I selected two die cut flowers and layered them. It doesn't matter if the flowers are different designs, they can still look pretty when layered. :)
I like to have an odd sympathy card in my stash. As depressing as the thought may be, you never quite know when you may need one. I'm hoping not anytime soon...!

Oooh and if you fancy a chance of winning some of these dies this week over on the Top Dog Dies blog and Facebook page so stay tuned! :)

Thank you so much for stopping by today! 

Signature2


Products Used

Copyright/Disclosure

I am on various design teams and receive free product to use and promote. I geniunely love the products of the companies and all opinons are honest and my own.

I'm flattered if I've inspired you and you want to CASE anything of mine, but please don't enter it for commercial publications or competitions.
Thank You!
All designs, text, and photographs on Crafting Confessions are ©2009-2016 to Amy Gray unless stated otherwise.